OPENSTREETMAP (OSM) DATA
When a crime occurs, where are the police? Police stations are an integral part of the working city and a prerequisite for crime analysis. We could get police station data from the city of Chicago, but let's use this opportunity to learn to collect data from another great data source: OpenStreetMap (OSM).
OSM data is collected by volunteers, and their global volunteer network has created an online mapping tool that rivals the likes of Google, Bing, and MapQuest. OSM subscribes to the open data model, which means that it makes its data available to anyone. The master OSM database is massive, however, and as a result it can be quite a challenge to obtain the data you need without also downloading a lot of data that you don't.
There are many websites that provide ways to extract subsets of OSM data for custom regions, but they can be cumbersome. QGIS provides a great alternative – an easy way to download just the data needed for a small study area:
1. Setup:
- Make sure the Chicago Neighborhoods dataset is loaded into your map project
2. Load plug-in:
- From the main menu, select Plugins >> Manage and Install Plugins
- Search for QuickOSM and check the box, or install the plugin if it is not already installed. Then close the plugins window.
3. Use plug-in to obtain police stations:
- Locate and click the QuickOSM button
![]()
- The QuickOSM dialog will pop up:

- Set the values:
- For Key, enter amenity
- For Value, enter police
- Set the extent of the neighborhoods layer
- Click Run query. You should see two layers added to your map:
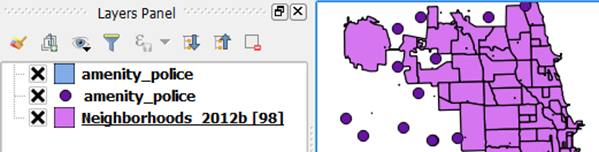
One layer contains points and the other polygons representing building footprints which you can see if you zoom in far enough:

The polygons are a bit overkill for what we need, however. Since the points and polygons both represent police stations, tt would be nice to merge them together…
4. Merge points and polygons
To avoid confusion, let's rename the two layers. Right-click on a layer and select Rename to rename it:
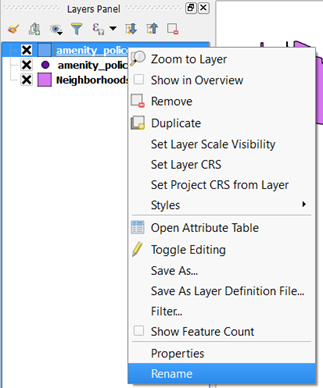
- I'll rename the polygon layer to amenity_police_polygons, and the point layer to amenity_police_points
To merge all the police stations into one layer, we'll first need to convert the polygons into points (centroids):
- From the main menu, select Vector >> Geometry Tools >> Polygon Centroids. You should see the following dialog:

- Make sure amenity_police_polygons is selected
- Keep the other defaults to let QGIS add the result to the map as a temporary layer
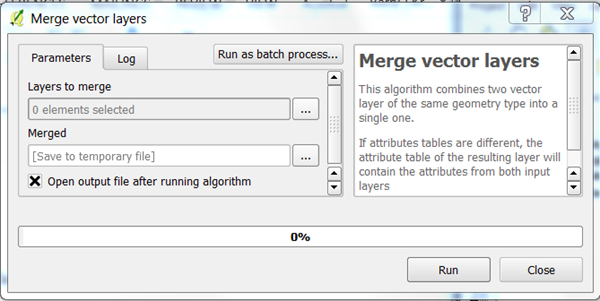
Finally, we're ready to merge the two point layers together:
- From the main menu, select Vector >> Data Management Tools >> Merge Vector Layers. You should see the following dialog:
- Click the ellipses and select the two point layers:
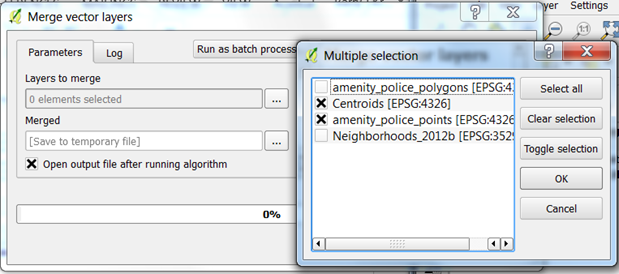
- Click OK and then Run. You will see a new layer called Merged.
- Remove the original layers and rename your new layer Police_Stations. You should see something like this:
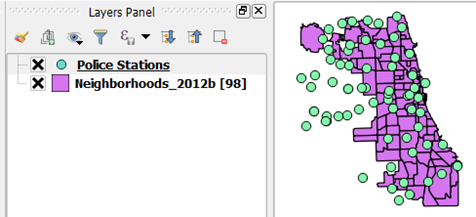
In the next section, we'll use geocoding to add hospitals to the map.