Record Videos by Using TechSmith Capture
Step 1: login to Knowmia by going to https://eiu.knowmia.com/ or via D2L Brightspace Content area.
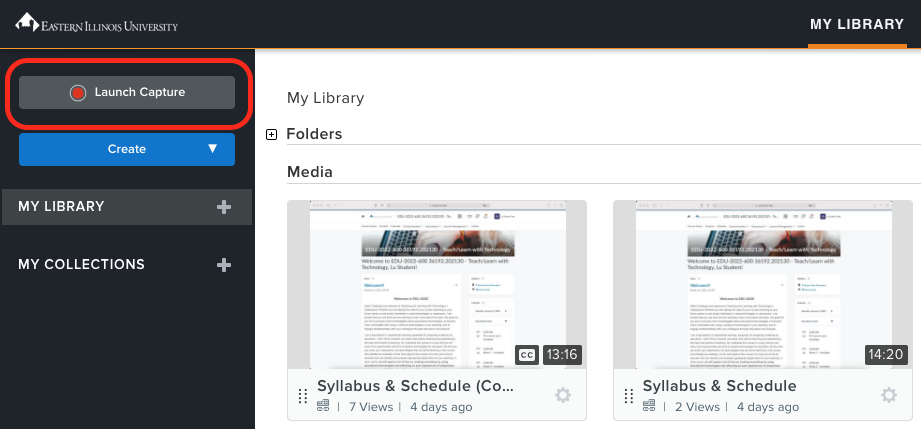
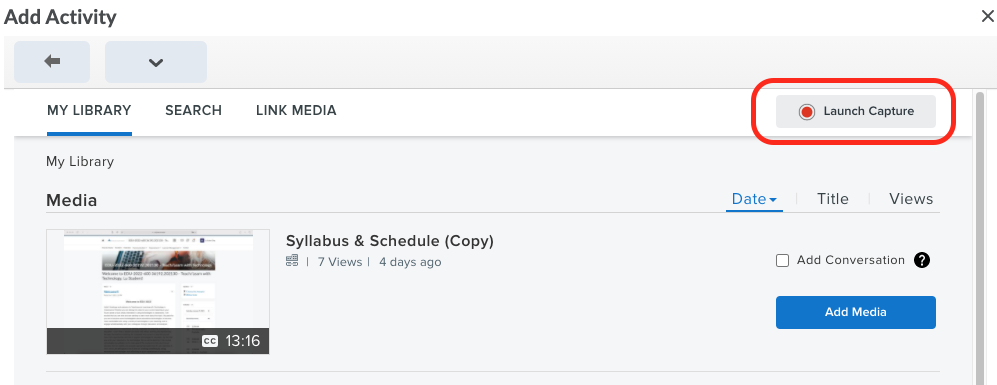
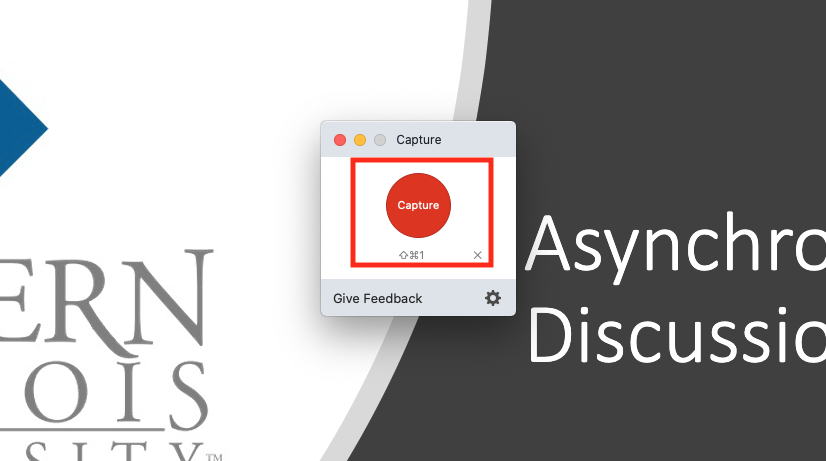
Step 2: once logged into the site, click the Launch Capture button in the upper-left hand corner of the screen. TechSmith Capture should automatically launch (although you may have a pop-up notice asking you if you want to allow it to launch). If this is the first time you use Knowmia, you will be prompted to download TechSmith Capture. Please follow the instruction to install the capture app to your computer (Tutorials for how to install TechSmith Capture).
Step 3: minimize the browser if necessary and navigate to the program that you want to capture. click on the Capture red button, and when an area selection tool shows up select the area of your screen that you want to capture. If you have a program open, Capture will automatically try to attach itself to various parts of the screen by hovering your mouse over them. Simply click the mouse when you have selected the window you want to record. If you want to record a custom segment, click and hold your mouse button and drag the square over the section you wish to record before releasing the button.
Step 4: once you have selected the recording area, the recording bar will appear on your screen. This gives you a final opportunity to select a camera and microphone (see image below for the options in the recording bar).
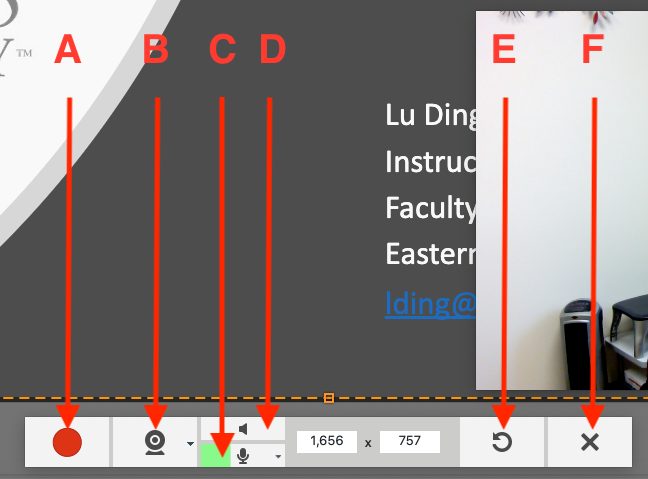
- Recording button. Once enabled, it turns into stop and pause bottons, which allow you to stop recording or pause recording.
- Webcam button. It turns on your webcam for video recording.
- Audio button. It allows you to record your voice.
- Toggle system audio button. It allows you to record system audio. For example, it can be used to record a song played on your computer.
- Reselect area button. It allows you to select a new area to record, but it will lose the recorded video once been enabled.
- Cancel button. It cancels the recording.
Note*: There are three types of videos you can record via TechSmith Capture: (1) Picture-in-Picture; (2) Webcam; and (3) Screencast. Click on the arrow next to the Webcam button, you will be able to see all the recording options.
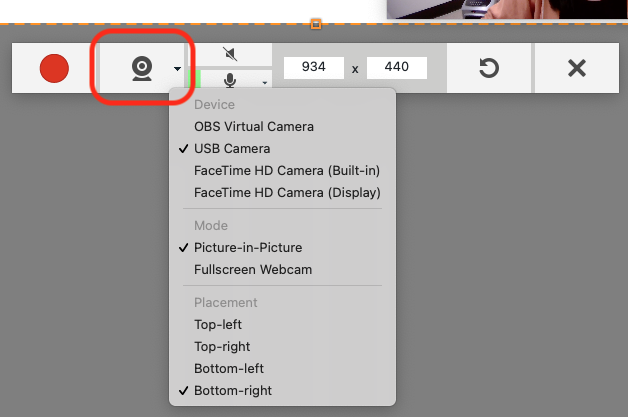
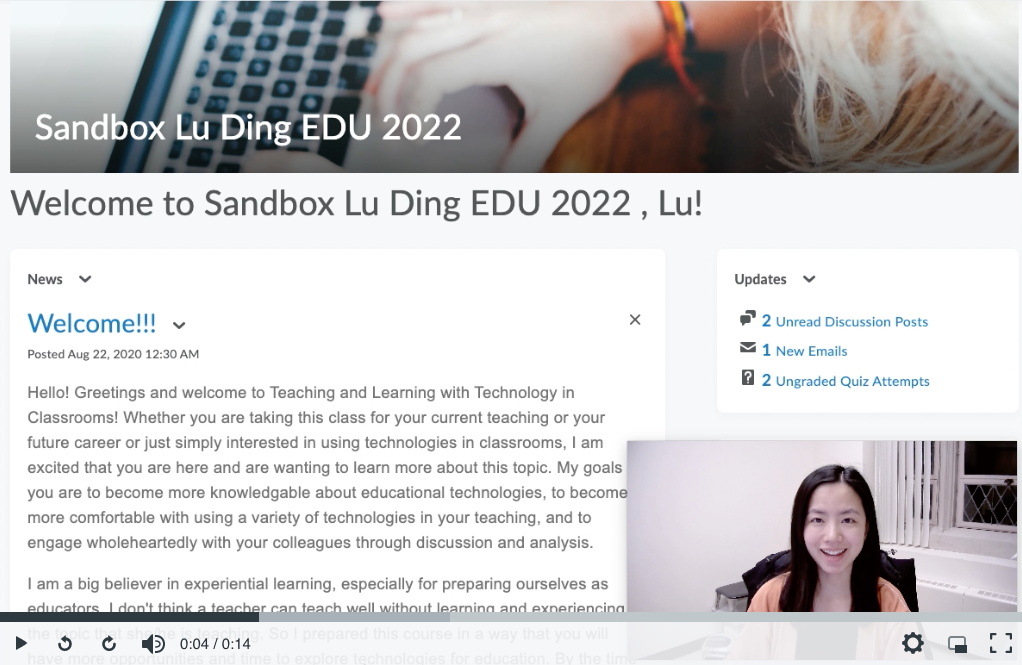
Type 1: Picture-in-Picture. Enable the Webcam button (![]() ). By default, TechSmith Capture uses picture-in-picture option. If not, click on the arrow next to the Webcam button, and select Picture-in-Picture option. Place your mouse in the upper-left corner of your picture until it shows an arrow, and then press the mouse and drag the picture until appropriate size. Below is a screenshot of a Picture-in-Picture video.
). By default, TechSmith Capture uses picture-in-picture option. If not, click on the arrow next to the Webcam button, and select Picture-in-Picture option. Place your mouse in the upper-left corner of your picture until it shows an arrow, and then press the mouse and drag the picture until appropriate size. Below is a screenshot of a Picture-in-Picture video.
Type 2: Webcam. Enable the Webcam button (![]() ). Click on the arrow next to the Webcam button, and select Fullscreen Webcam option. You will be able to record a video via your webcam without showing your screen.
). Click on the arrow next to the Webcam button, and select Fullscreen Webcam option. You will be able to record a video via your webcam without showing your screen.
Type 3: Screencast. Disable the webcam by clicking on the Webcam button (![]() ). Now, you will be able to record a video only shows your screen.
). Now, you will be able to record a video only shows your screen.
Step 5: when ready, click the Recording button to record. You will see the portion of the screen begin to countdown starting from 3. When it reaches zero, the recording will begin.
Step 6: when you have finished recording your video, click the gray square on the recording bar.

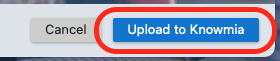
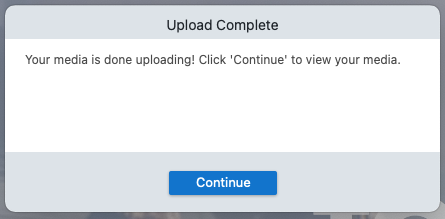
Step 7: after clicking the stop button, you will be given a preview of your recording. You may review this preview before proceeding. Clicking "Cancel" will abort the process and allow you to start over. Clicking "Upload to Knowmia" and then clicking "Continue" on the following popup window will send the video to Knowmia Library.